Geofencing with Core Location
What is Geofencing?
Geofence
A geofence is nothing more than an virtual boundary that corresponds to an actual location in space. In iOS, a geofence is represented by an instance of the
CLRegion class, which is characterized by a coordinate (latitude and longitude), a radius, and a unique identifier. This means that geofences on iOS are by definition circular.
Geofencing on iOS
As I told you earlier, the Core Location framework is responsible for geofencing on iOS. Location services are closely tied to multitasking and geofencing is no exception. By enabling geofencing in the background, it appears as if your application continues to run in the background. However, the operating system goes one step further by monitoring regions of interest even if the application is inactive, that is, no instance of the application is running in the background or foreground. The mechanism is not that complicated. The operating system manages a list of geofences and which applications are interested in which geofences. If a particular geofence is entered or exited, the operating system notifies the corresponding application. The primary reason of this approach is to save battery power. Instead of allowing several applications running in the background and using the device's location services, the operating system manages this task and only notifies an application when necessary.
We use geofences for two reasons:
1. Efficiency – It doesn’t take nearly as much power to let iOS do its own geofence calculations.
2. Privacy – We don’t need to know everywhere the user goes just so that we can figure out that they crossed over into our interesting area.
Process before geofences starts :
1. Need to initialize apple location service :
OBJECTIVE-C
The response to the permission grant is asynchronous, so you’ll need to implement the
CLLocationManagerDelegate protocol and implement didChangeAuthorizationStatus to detect if permission was granted, or the user denied you outright. The new status is of the same CLAuthorizationStatus type that authorizationStatus gave before. Once you have the “always” permission, you’re ready to move on.Erecting the Geofences
Our next step is to register the geofences we’re interested in with our
CLLocationManager. Geofences are defined as instances of CLRegion, though the only ones that actually work are CLCircularRegion. To create one, you’ll need a latitude, longitude, and radius in meters, as well as a string identifier for your region:
OBJECTIVE-C
I’ve picked 100 meters for this geofence for a few reasons. It’s roughly the size of a block, for starters, giving you time to stop and not go under the bridge (though 200 meters might be better, giving you a chance to route around the hazard!) It’s also, in my testing with several iOS devices, proven to be a good, reliable, minimum geofence size.
Once you’ve created your region, you can ask iOS to start monitoring for it with
startMonitoringForRegion. It’s safe to call this at any time—if you call it with a region whose identifier already exists, the old region will be replaced.
OBJECTIVE-C
Be sure you implement the
CLLocationManagerDelegate methods for both success (didStartMonitoringForRegion) and failure (monitoringDidFailForRegion) so that your app is aware of the status of your monitoring request. There are several reasons geofence monitoring can fail, so it pays to listen to what iOS is telling you.Entries and Exits
Once iOS is monitoring for your geofences, implement the appropriate
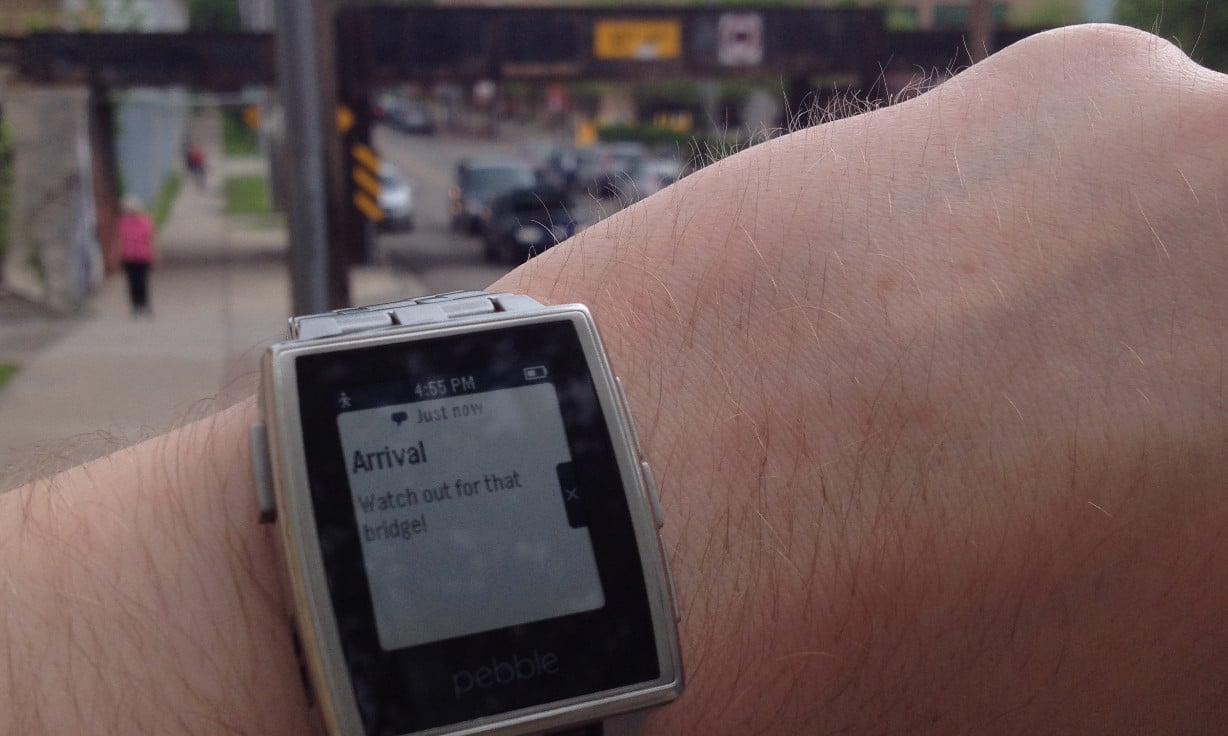
CLLocationManager methods for geofence entry (didEnterRegion) and exit (didExitRegion) and iOS will call them when at the appropriate times—even launching your app in the background if it isn’t already running. For my app, I chose to deliver local notifications (which, conveniently, appear on my smartwatch as well.)
One caveat about monitoring for geofence entry: if you need to know whether the device is already in the geofence when you start monitoring, you’ll need to ask separately—you won’t receive a
didEnterRegion call unless the device actually moves from outside a geofence to inside. I’ve tried several solutions for this, and the best one I’ve come up with is to call startUpdatingLocation, use CLCircularRegion‘s containsCoordinateto test whether the latitude and longitude are inside the region, and finally call stopUpdatingLocation.
Putting it all together, the answer seems to be yes—in the event I’m ever driving a truck over ten feet tall, I can use my phone to give me another shot at avoiding disaster.


Basic understanding for Geofencing !!
ReplyDeleteI just want to thank you for sharing your information and your site or blog this is simple but nice Information I’ve ever seen i like it i learn something today. Geofencing
ReplyDeleteThis comment has been removed by the author.
ReplyDelete